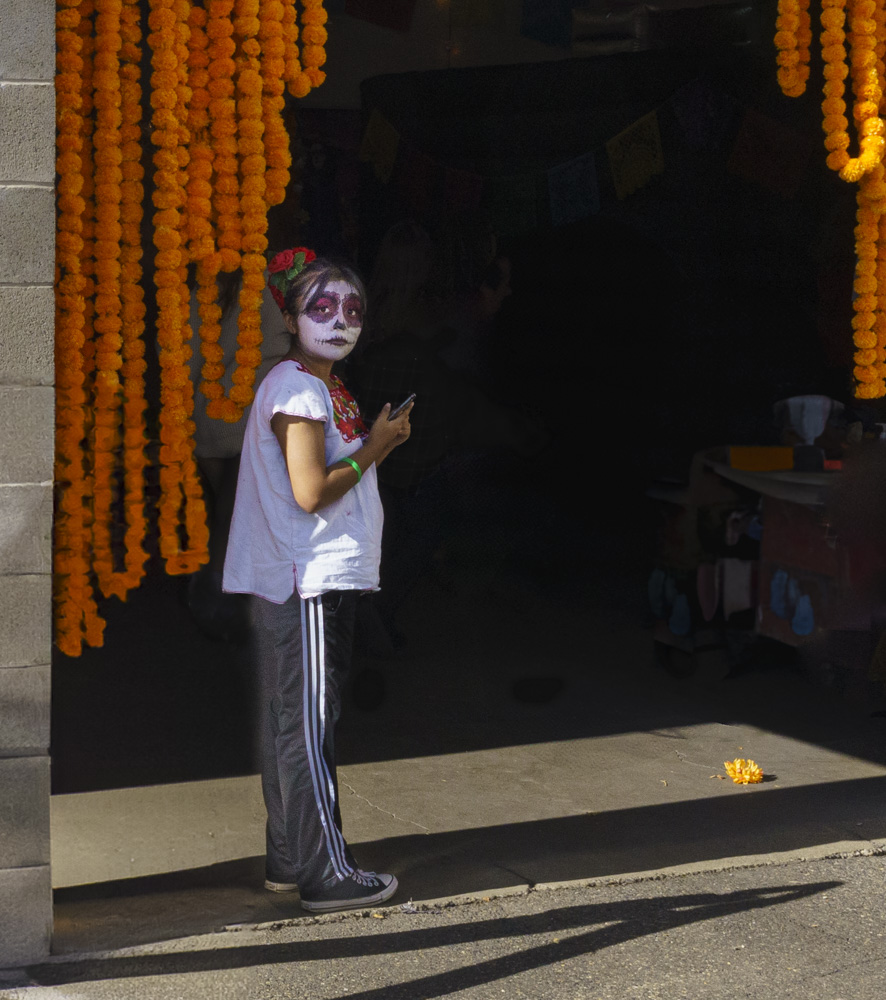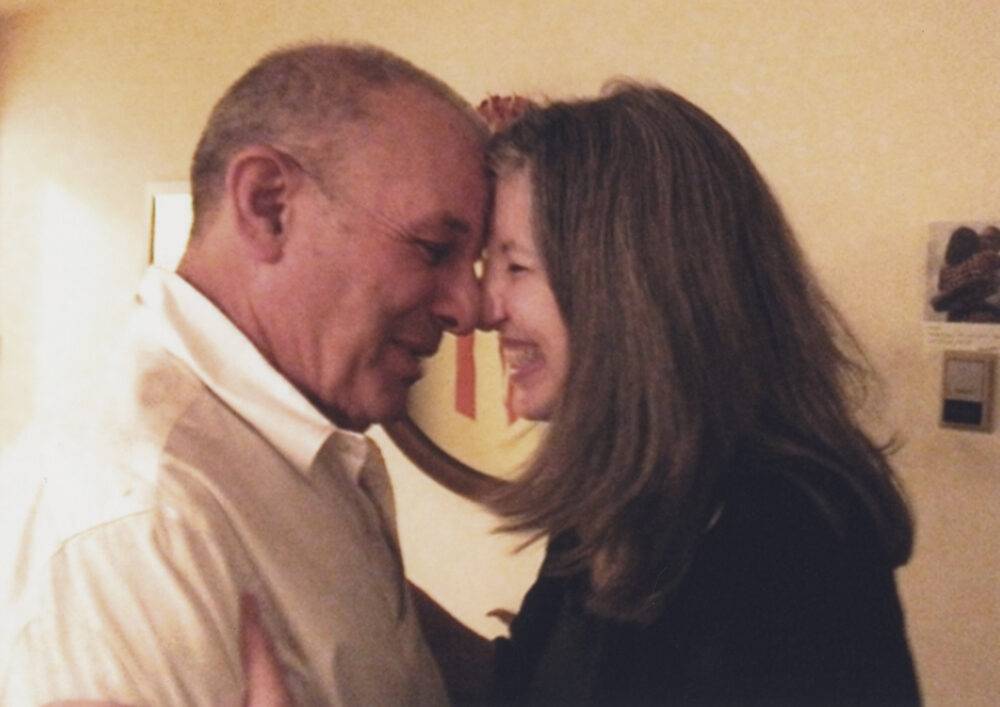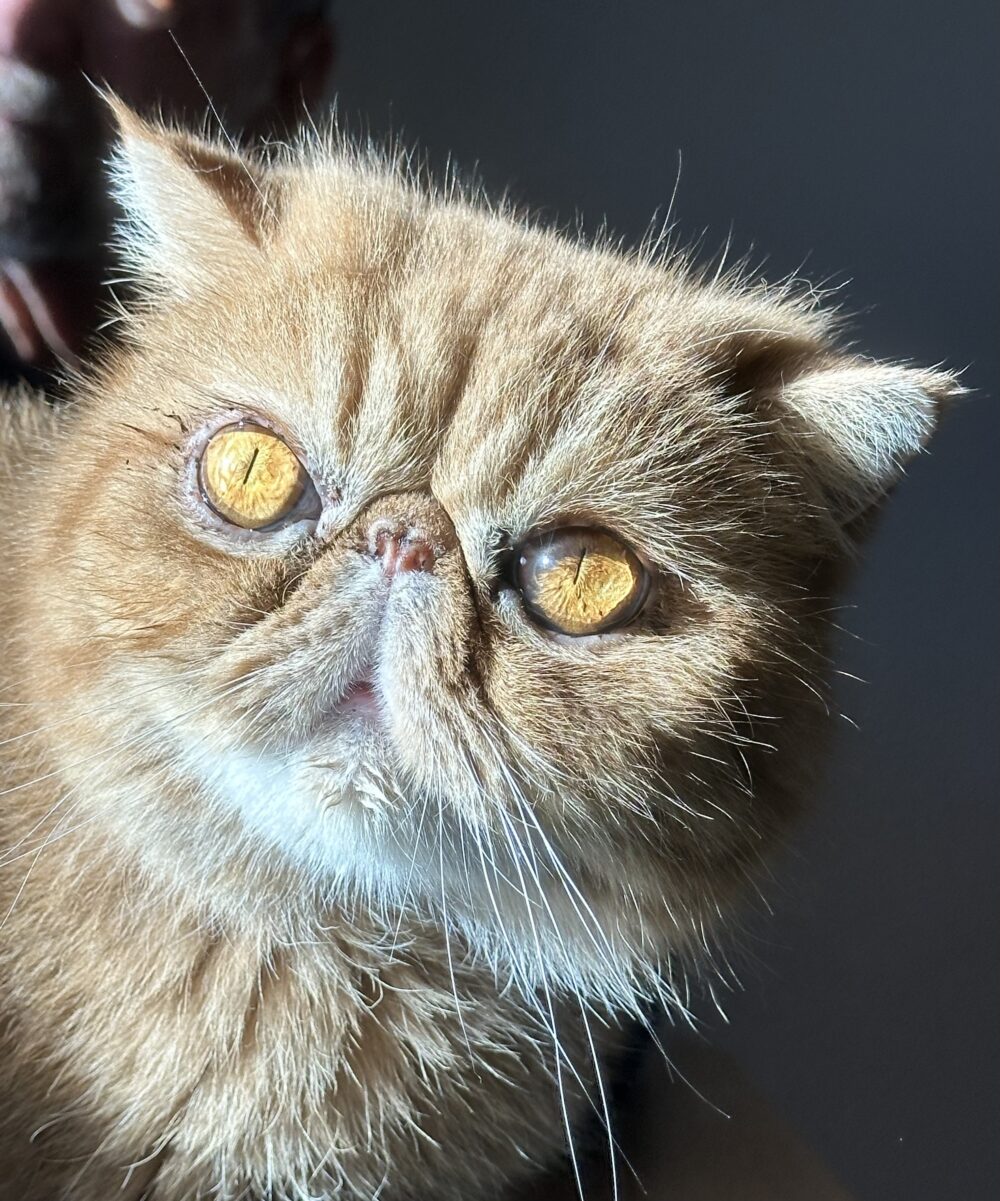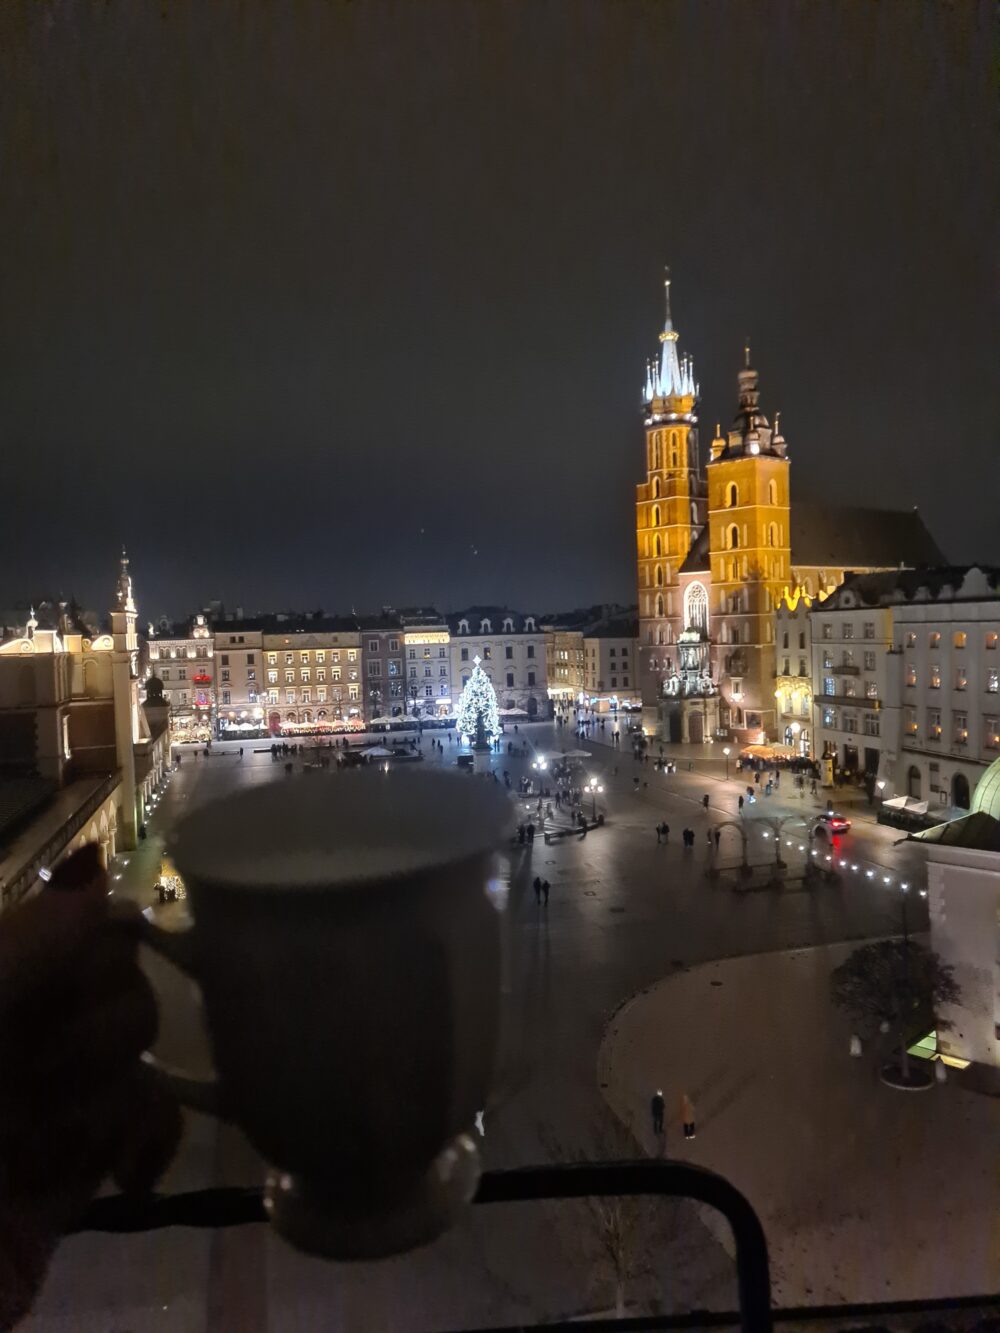
Contrast Inspired by Nevelson
Using Art to Bring a New Lens to Photography
By Owen Biddle Photo School + SeeingHappy

Louise Nevelson (1899 – 1988)
“I see no reason why I should tickle stones or waste time on polishing bronze”
Nevelson delighted in assembling the ordinary stuff of life into sculptures that evoke memories, impressions and moods. Her colors are generally limited, often black and white. She contained her symbolic content in strong grid-like abstractions.
HIGH KEY / LOW KEY
PURPOSE:
Value refers to the continuum of tones from light to dark. This assignment deals with controlling and using value as one more feature of picture-making. You will explore, technically and aesthetically, the visually arresting concept of high key/low key – a white subject on a white ground, a dark subject against a dark ground. You will learn how to handle pictures that are composed of closely related values (e.g. an egg against white paper, or a person in dark clothing against a dark background.) In addition, the plain background, either black or white, can lead you to a dramatic new understanding of negative space (the space surrounding your subject).
WARNING:
These shots are challenging: subject and background can easily merge resulting in a poorly defined image. In addition, exposure does not follow the usual rules. We will learn metering techniques to be sure the foreground and background are clearly separate and the exposure is effective.
You are about to set out on previously uncharted seas. Your cameras exposure meter will be fooled. Zeroing-out the meter will no longer be correct. The exposure meter is calibrated to read grey halfway between black and white. A white horse against a snowy background would be underexposed as a result. A black horse against a dark wall would be overexposed.
SET-UP:
Indoor, window light/ door light.
1. Compose pictures of simple subjects against plain backgrounds. Think about contour, line, and texture as you design these pictures.
2. Be sure your dark background is REALLY dark. Be sure your light background is REALLY light. Likewise for the subjects. Greys or mid tones sort of defeat the purpose here.
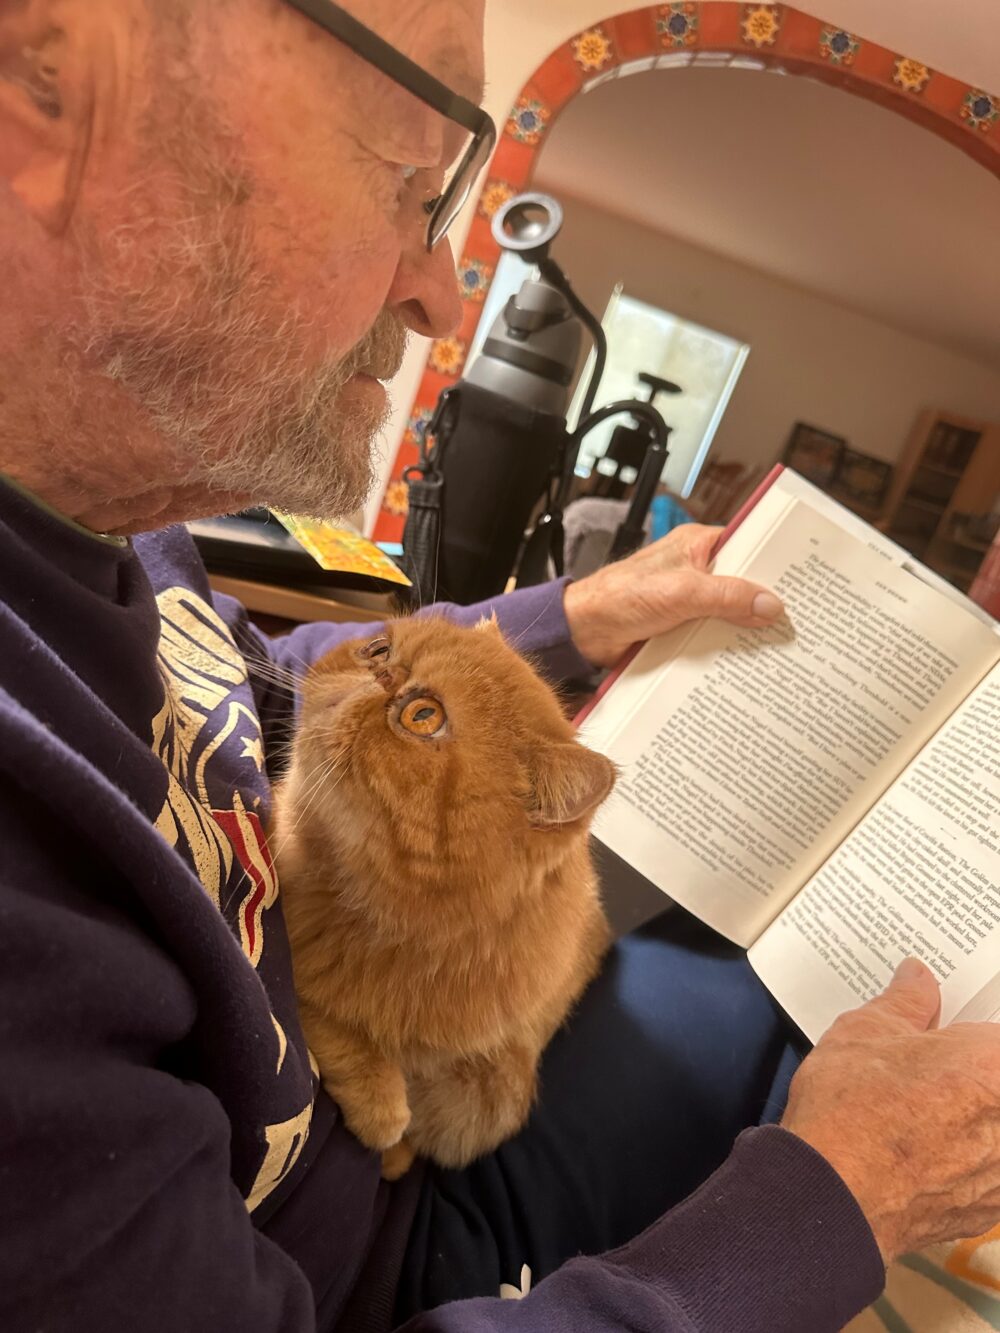
3. Make sure some of your pictures are of people. A small family group might be nice. For the rest, the choice of subject is wide open. A white pet with a white ground, a dark pet with a dark ground. Try some still life shots too – these can be really dramatic.
4. Be aware that exposure will need some special consideration. Dark on dark will require going to the minus side of your meter by one or two stops to get correct exposure.For light on light you will need to be one or two stops on the plus side. For the black horse with an F-stop of 8 if you stay with the shutter speed indicated by your zeroed-out meter, the picture will be grey. To compensate, adjust the shutter speed to the negative side by one or two stops. This will give you faster shutter speeds. For the white horse at F-8 if you stay with the shutter speed indicated by your zeroed-out meter, the picture will also be grey. This time, you need to move the shutter speed to the positive side by one or two stops. This will give you slower shutter speeds. See #5 for more detailed explanation:
5. If in doubt of the proper exposure, bracket– take several different exposures to insure one is right. For example, for a low key picture, you might select F-8, the famous “I don’t care” aperture. (F-8 gives a reasonable amount of depth-of-field but may not capture the background in sharp focus. Since, in these shots, the background is plain, it doesn’t matter) With this aperture, the meter might indicate, for example, a shutter speed of 1/8 second. This would be wrong and in fact cause over-exposure. You would need to go to 1/15 or 1/30 second in order to keep the exposure correct. The opposite would be true for a high key subject. For example, if the meter indicated 1/8 second, you’d need to go to 1/4 or 1/2 second to get the correct exposure.
6. You might try using a grey card. Be sure the frame is entirely filled by the card. And make sure you don’t cast a shadow on the card. Because the light meter in your camera is calibrated to grey the should give you a correct exposure when the meter is zeroed-out. The grey card needs to be placed right in front of the subject.
7. You can look at the LCD on the back of your camera to judge exposure but this will can be misleading.
8. Looking at the histogram is more reliable. A good histogram for a low key picture will have the curve bunched up on the left, rather than the usual bell curve. For high key, look for a histogram bunched up at the right.
9.For both high key and low key, at times you may have to light the background to create adequate separation. This additional background light can help solve some tricky problems.
Outdoors: Overcast Daylight
See if you can apply these same principles to photos taken outdoors, making sure to find appropriate plain backgrounds.
The Lesson:
Famous photographers like Richard Avadon and Mariana Cook built styles around careful and distinctive use of value in their pictures. Avadon’s pictures are recognized by his high-key approach to background and lighting, while Cook makes use of a low-key style for her portraits. These pictures are challenging, and demand attention to the your metering, lighting and composition. To master these techniques will take some patience and practice. But the results can be very stylish and even elegant, and are well worth the effort.

