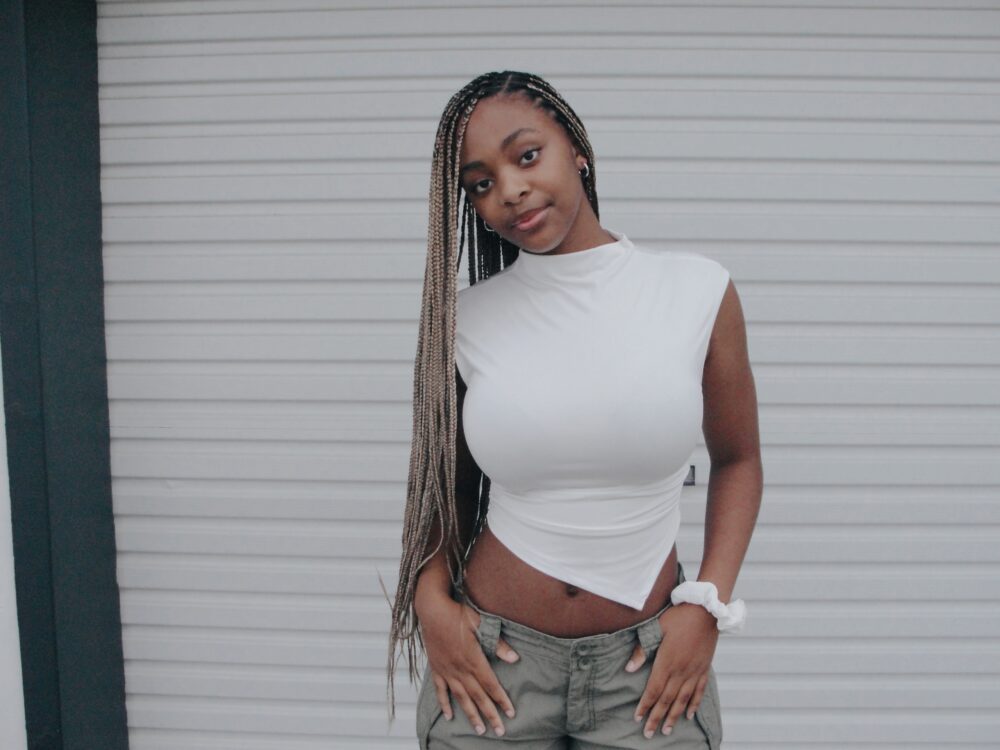
Environmental Style inspired by Matisse
Using Art to Bring a New Lens to Photography
By Owen Biddle Photo School + SeeingHappy

Henri Matisse (1869 – 1954)
“To look at something as though we had never seen it before requires great courage.”
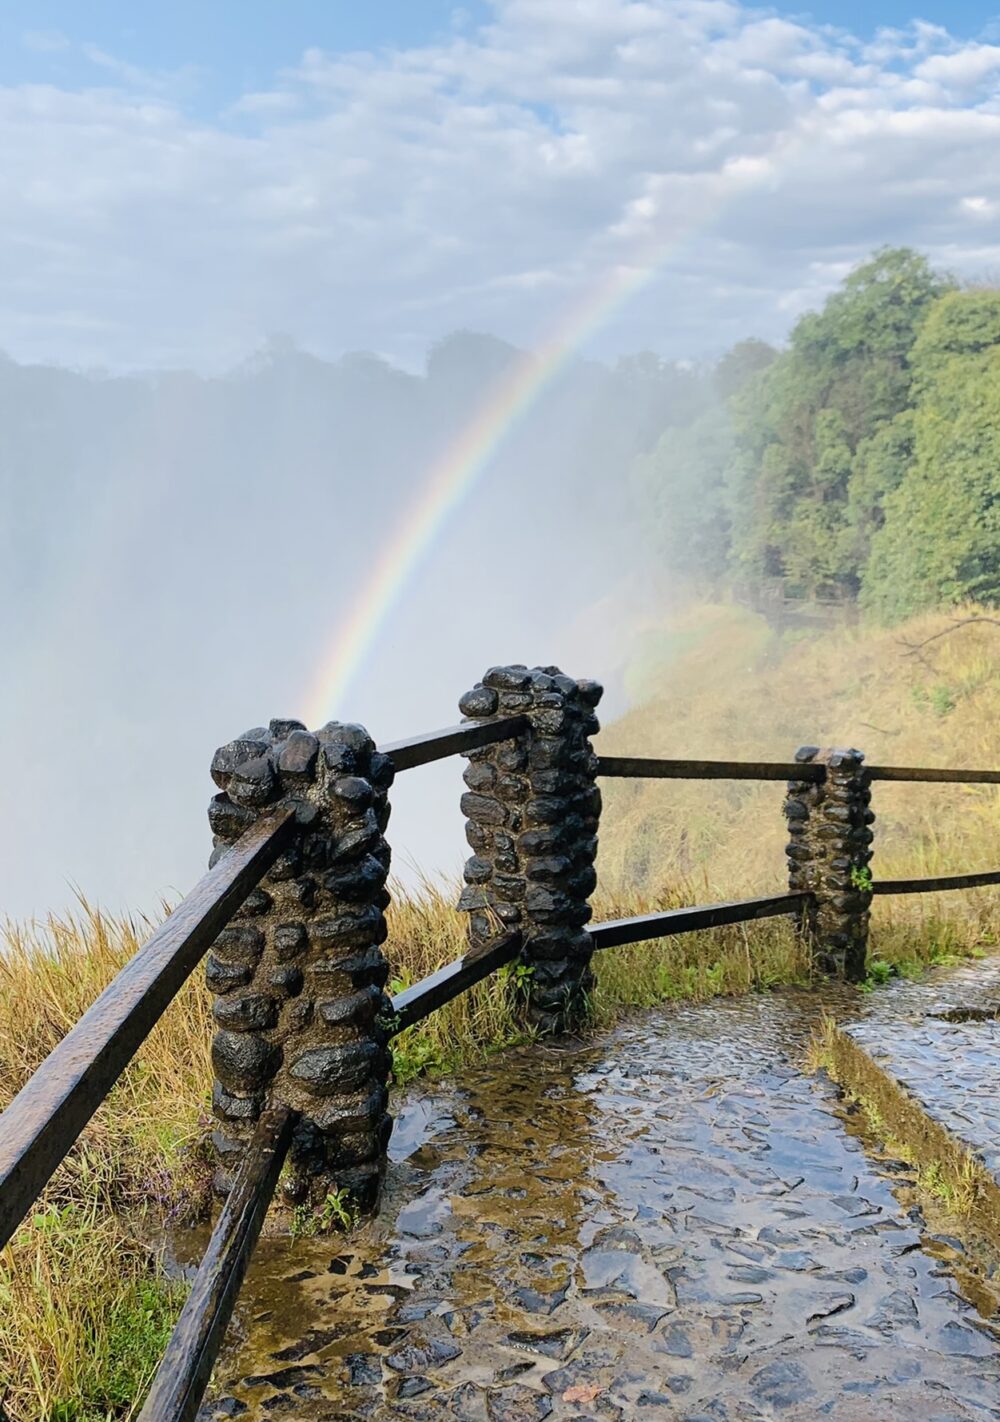
Something special about Matisse’s paintings is the way he melds subject, background and light to create a vibrant new whole. His graceful lines are minimal but do the trick – define form, create tension, add rhythm. The flat, pure colors reinforce the impact. Full of pattern, but unfussy, Matisse’s compositions are irresistible renditions of sunlight filled spaces.
Environmental Self-Portrait
PURPOSE:
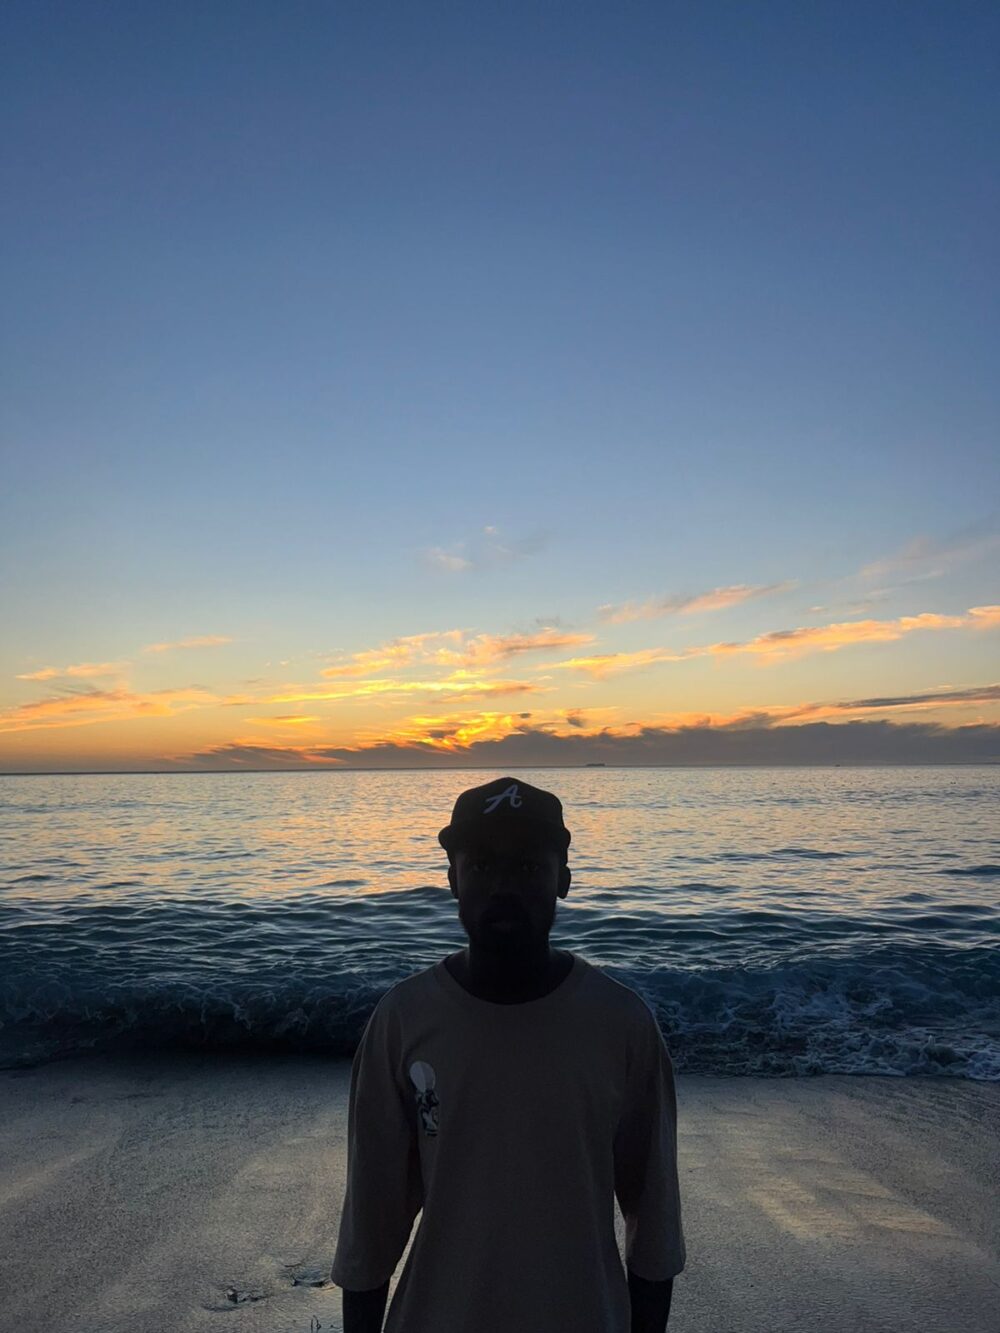
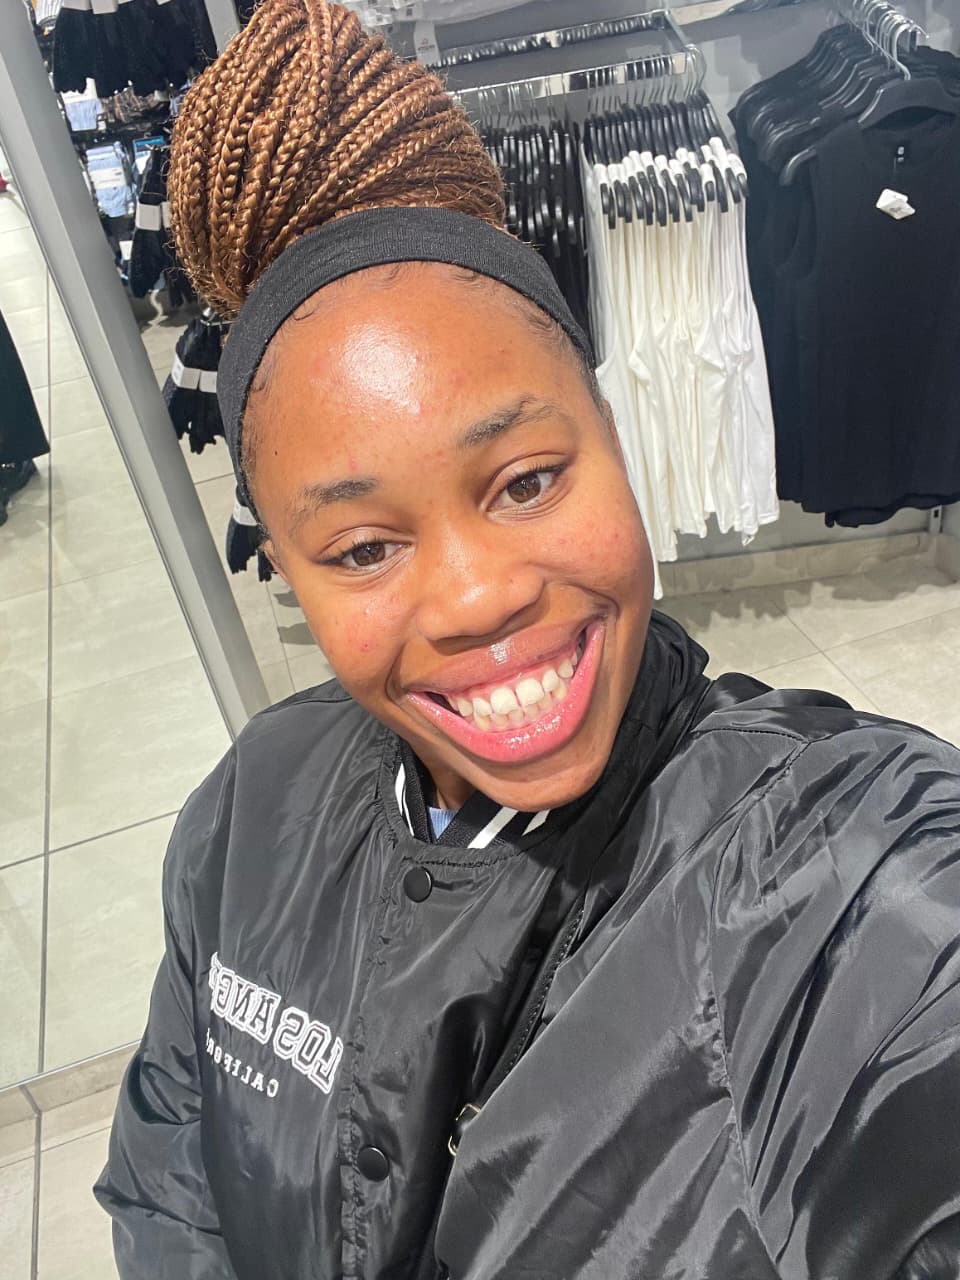
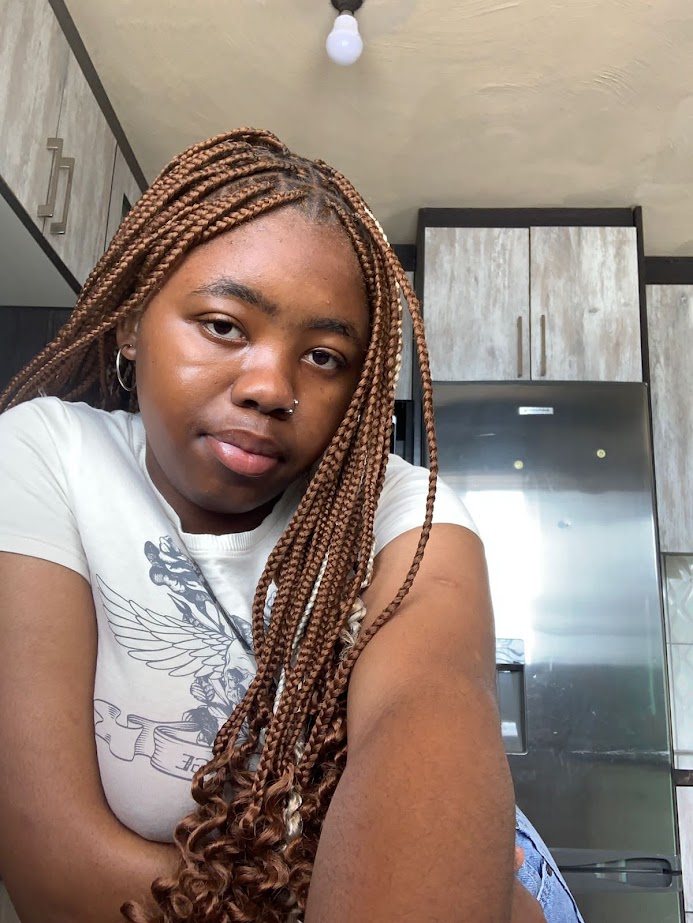
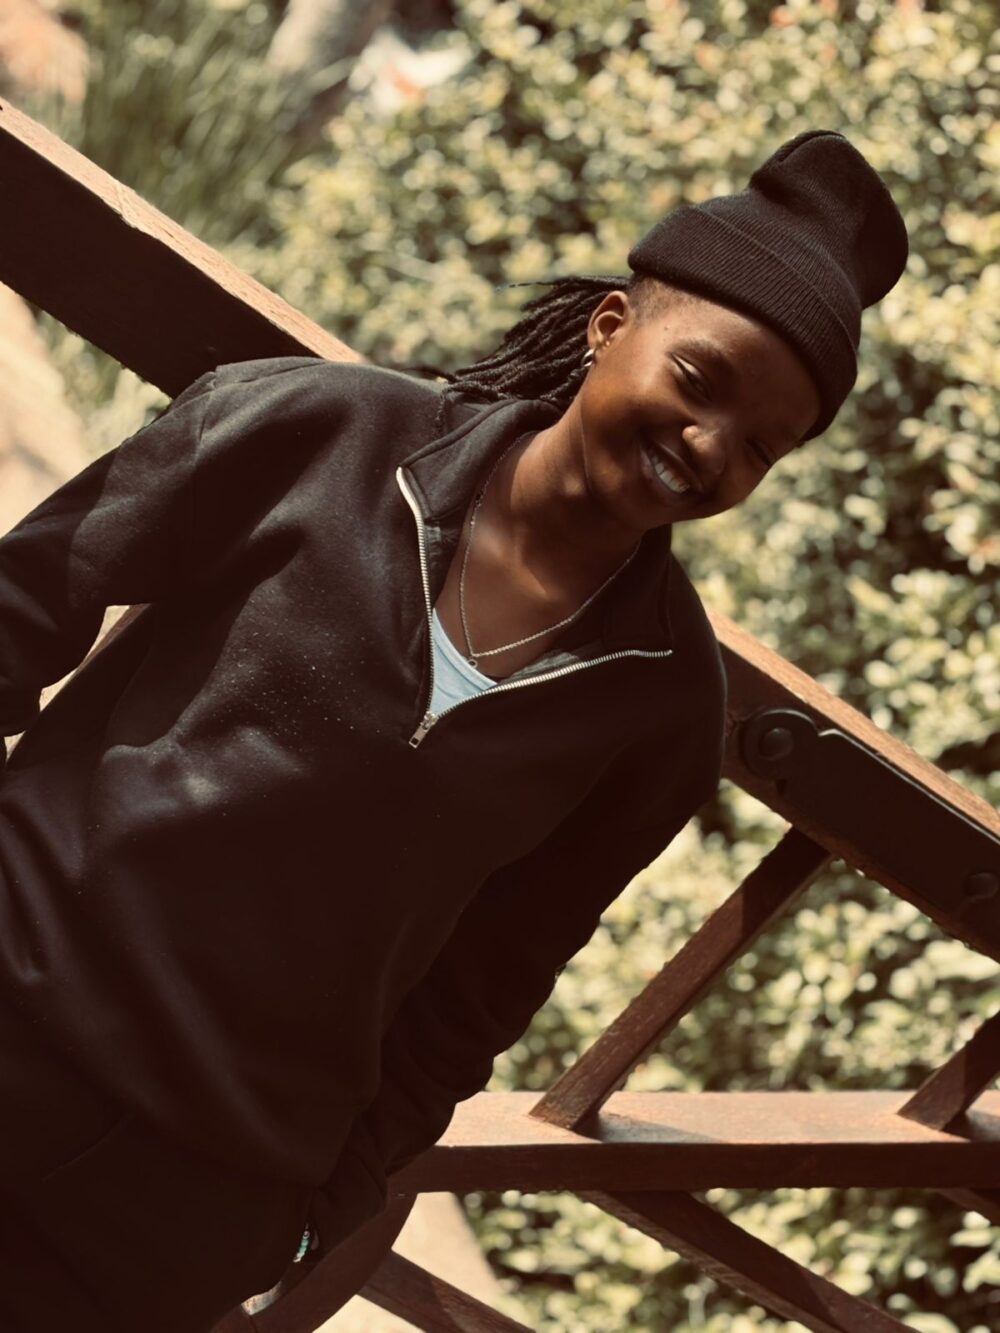
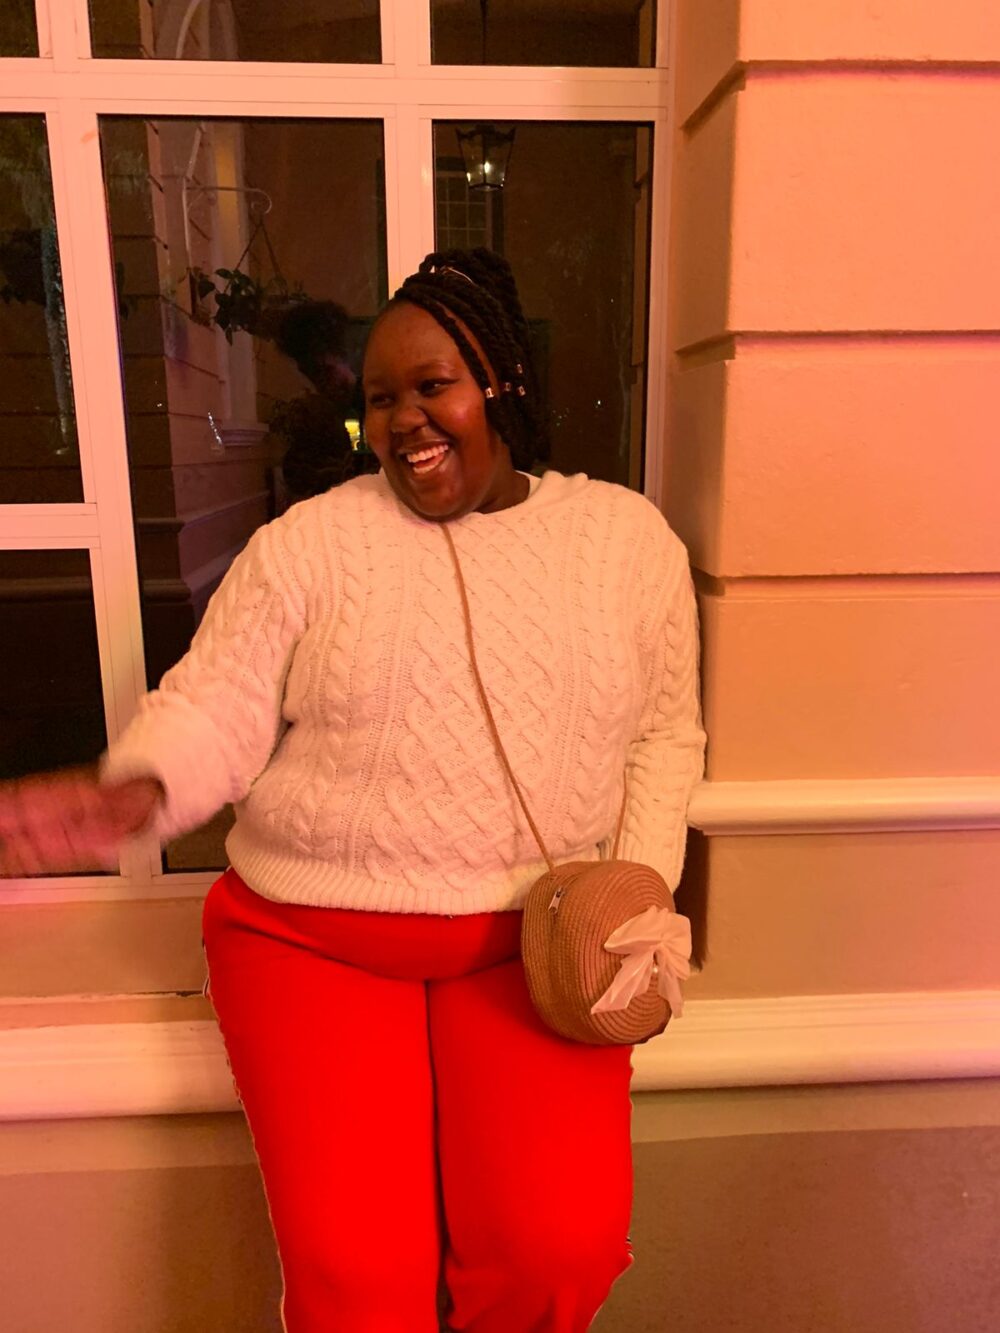
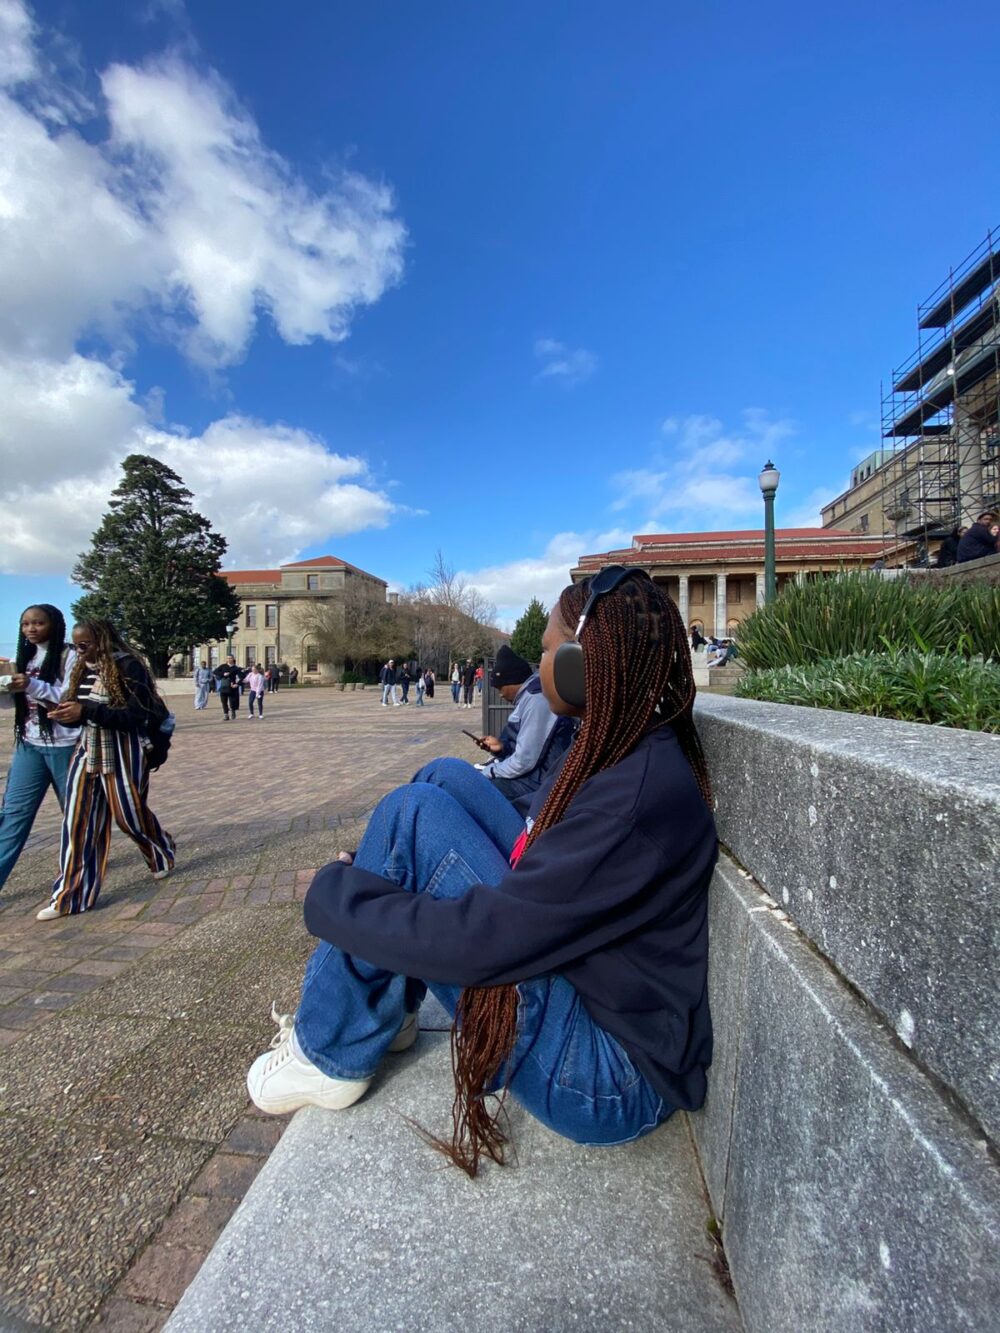
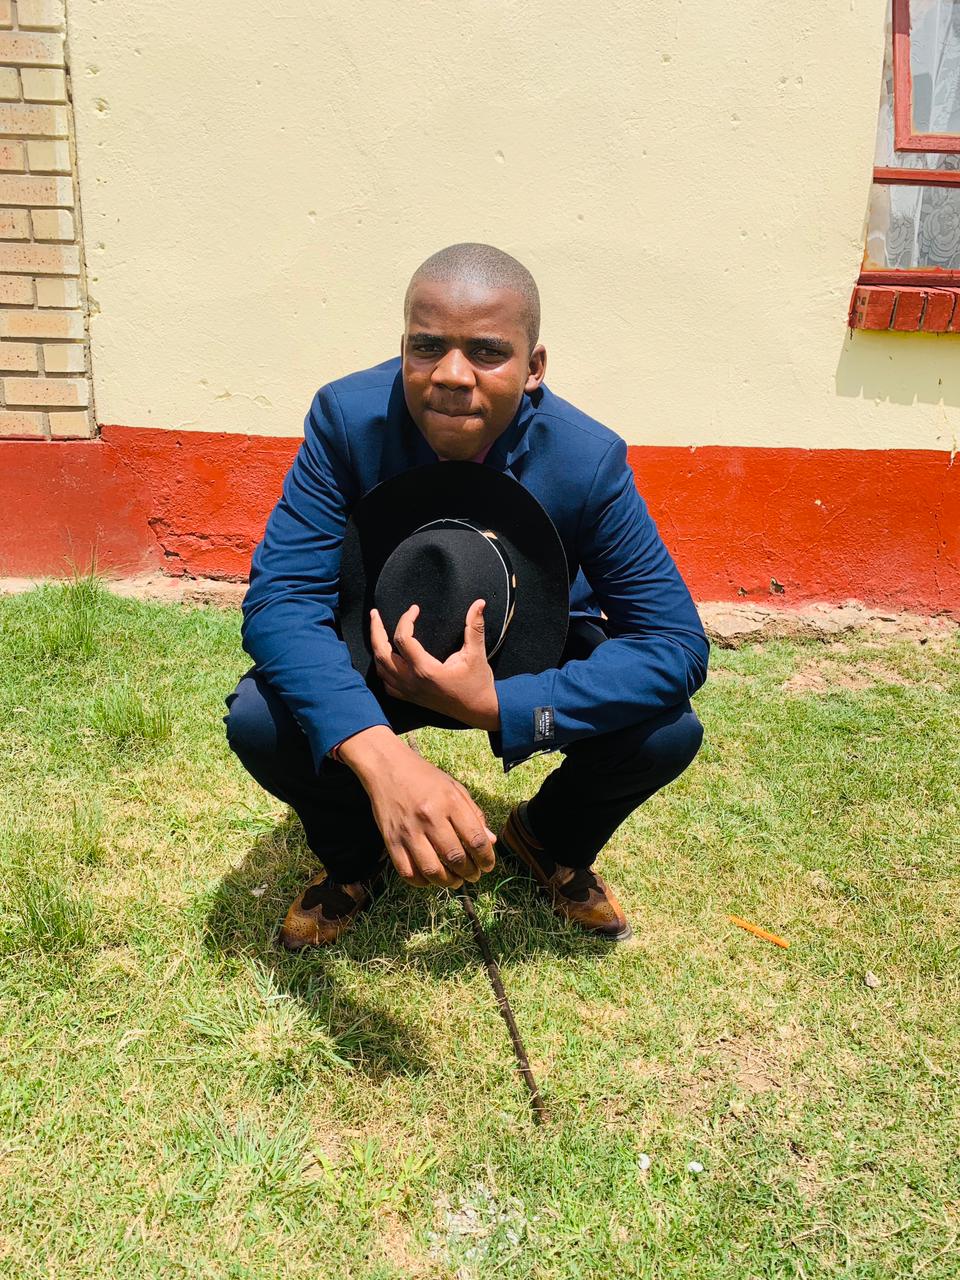
Using your most willing subject – yourself! – and the principles of environmental portraiture you will capture shots that tell something about who you are and how you exist in the world.
Notes on Environmental Portraits:
To move beyond a straight forward portrait which features the subject against a plain, or almost plain, backdrop, you will need to give thought to the setting and other elements of your composition. Choose an environment that is relevant to who you are: surrounded by the comforting mess of a kitchen in use, in the park, at the stables etc. You should also include props that amplify the personal message. You will need to manage focus, depth-of-field, color considerations, and lighting so that there is an appropriate balance between subject and the background (the environment should be legible enough to give information, but never distracting from the main subject)
Framing
A stand-in, standing or sitting exactly where you will be can be very helpful for framing and focus.
As you prepare your shot, a mirror placed right next to the camera may also give you a good idea of how you will look from the camera’s perspective. It will help with not only positioning, but also color, lighting, background etc.
Tripod and Self Timer:
In self portraits, the tripod helps with framing and sharpness. To get into your own shot, you will need to use the self-timer. It will give you 10 seconds to run around, get into place. If you have one, a remote control lets you sit or stand in place and fire.
Focusing:
Getting a good focus on your elusive self can also be challenging. Because your camera is on the tripod you can now use the focusing points in the view finder. Move the focusing point onto the eyes of your stand-in and manually focus the lens.
The big idea:
Don’t get so wrapped up in the technical details that you forget what this assignment is about: you. Try to choose a composition the evokes a sense of who you are. Avoid the passport or mug shot look. On the other hand, try not to worry too much about getting the most flattering shot. This concern could interfere with the learning possibilities.
SET-UP
Take at least five shots from each of the categories below.
1. Daytime – Indoors
Use window light.
Use a viewing card for framing your stand-in and to help with perspective and negative space.
Try different framing options: head shots (lens focal length 70mm), waist up (lens focal length 55mm), head-to-toe (lens focal length 35mm).
Remember custom white balance. You will need a very white piece of card board or foam core as a reference point for your camera so it can adjust the color of the light accordingly. This is a more accurate way to white balance the picture than using the sun icon .
Some of your self portraits may look best in black and white. Try a few.
2. Daytime – Outdoors
A huge tip: Shoot yourself in the shade.
Custom white balance may be very helpful here. (Better than the shade icon)
Silver and gold reflectors may be useful outside. They bring beautiful light back into the shade.
3. Nighttime – Indoors
Light yourself using a lamp with a 150 watt light bulb and a large white shade. Make sure the lamp is not in the frame. If possible, the lamp should be higher than your head.
To get more detail into the shadow side of your face, try using a white reflector.
These shots might be the best occasion of all for custom white balance!
Extra Credit:
Pictures of yourself at night outdoors
Pictures taken of yourself in the mirror or a store window reflection.
Can you find a way to take a picture of yourself in motion? (hint: bounce flash)
The Lesson:
Environmental portraiture exploits the surroundings by including references to amplify the personality, and giving a more “three dimensional” portrait. It calls on your skills for composing shots that are more complex without becoming cluttered and confusing.
Further Reference for Inspiration:
Arnold Newman
Vivian Maier
Diane Arbus
Bill Brandt
Robert Maplethorp
Ilsa Bing
Cindy Sherman

